A step-by-step guide to accessing and using your retail management portal.
¶ 1. Initial Access & Security
To begin managing your retail operations, sign in securely to your business portal using the credentials provided during onboarding.
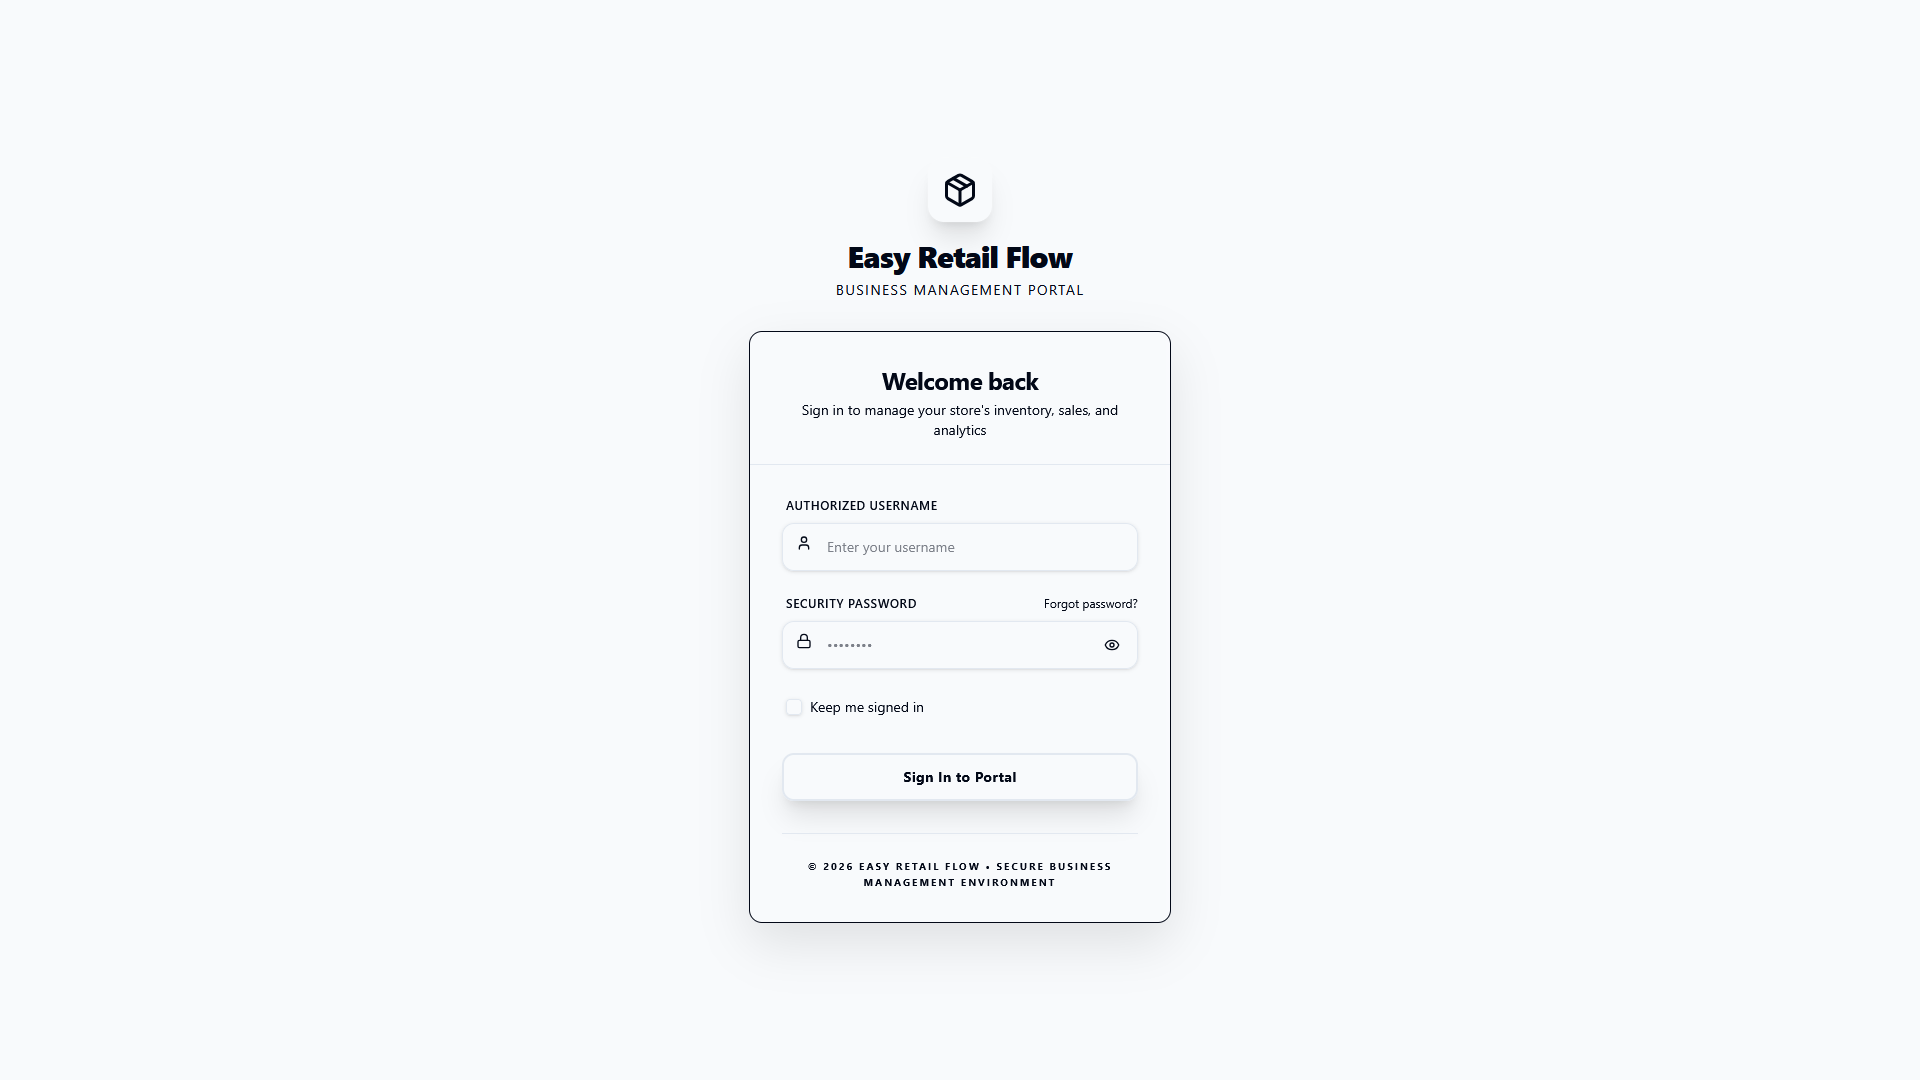
Figure 1 — Login page.
- Enter your username — Use the username assigned during onboarding. Usernames are case-sensitive.
- Enter your password — Type your password in the password field. Use the visibility toggle () to reveal and confirm your characters.
- Session preference — Check Keep me signed in only on private, trusted devices to avoid repeated logins.
- Click Sign In — You will be redirected to the main Dashboard upon a successful login.
¶ 2. Setup Wizard: Update Email Address
Upon your first successful login, you will be automatically redirected to the Setup Wizard. This mandatory phase ensures your account is properly configured and secured before you access the main dashboard.
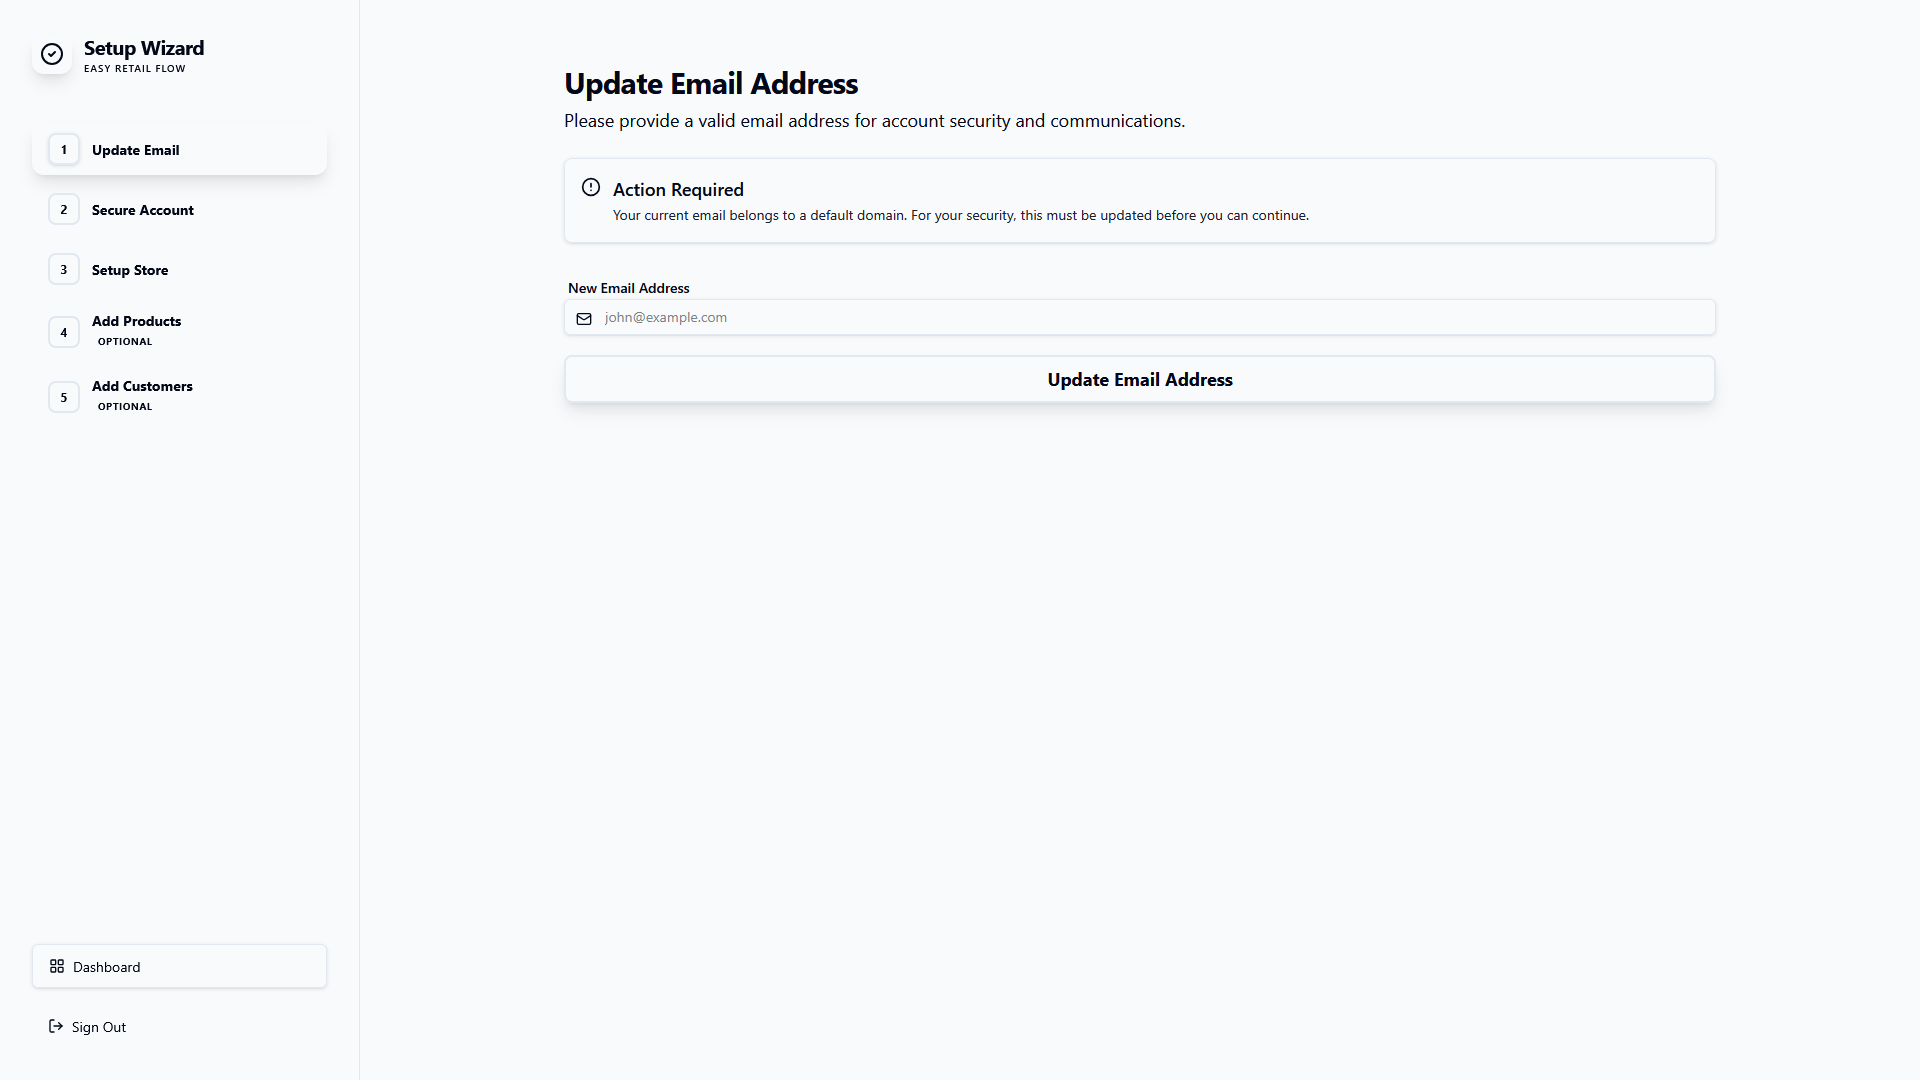
Figure 2 — Setup Wizard: Phase 1 (Update Email Address).
The first step requires you to provide a valid, personal business email address. This is critical because:
- It replaces the default/onboarding email address.
- It is used for multi-factor authentication and security alerts.
- It serves as your primary channel for system communications and password recovery.
How to update:
- Locate the New Email Address field.
- Enter your professional email address (e.g., yourname@yourcompany.com).
- Click the Update Email Address button to verify and save the changes.
¶ 3. Setup Wizard: Secure Account
The second phase of the Setup Wizard focuses on account security. By default, your account is issued with a temporary password which should be replaced with a strong, personal password.
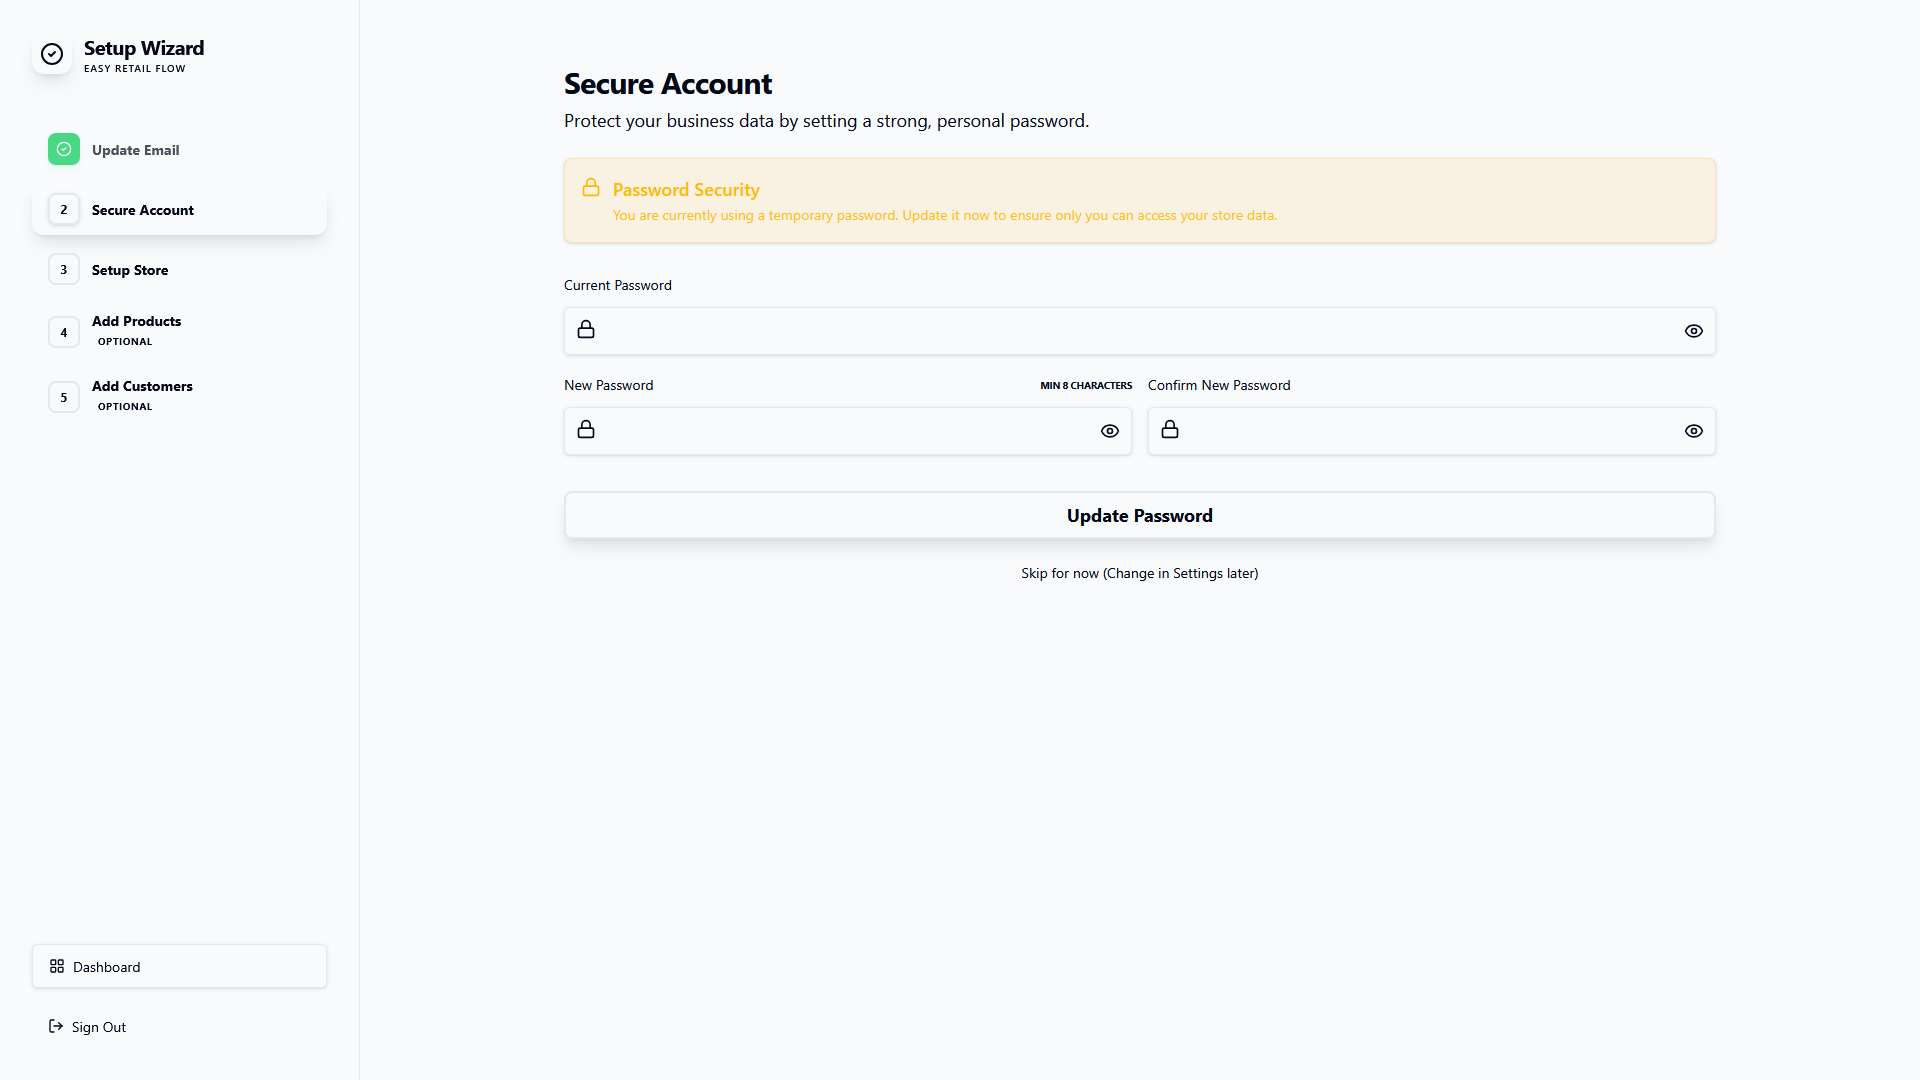
Figure 3 — Setup Wizard: Phase 2 (Secure Account).
In this screen, you have two options for proceeding:
¶ Option A: Update Password (Recommended)
- Current Password: Enter the temporary password you used to log in.
- New Password: Enter a new strong password (minimum 8 characters).
- Confirm New Password: Re-type the new password to ensure there are no typos.
- Click Update Password to apply the changes.
¶ Option B: Skip for Now
If you choose not to update your password immediately, you can click the "Skip for now" link located below the main button. Note that you will still be prompted to change it later in your Profile Settings.
¶ 4. Setup Wizard: Create Your Store
The third phase is the most critical for personalizing your portal. In Create Your Store, you configure the foundational details of your business. Given the depth of this screen, we will cover it section by section.
¶ 4.1 Basic Information
This component captures the public and legal identity of your business. Information entered here will be used in your invoice headers, portals, and official communications.
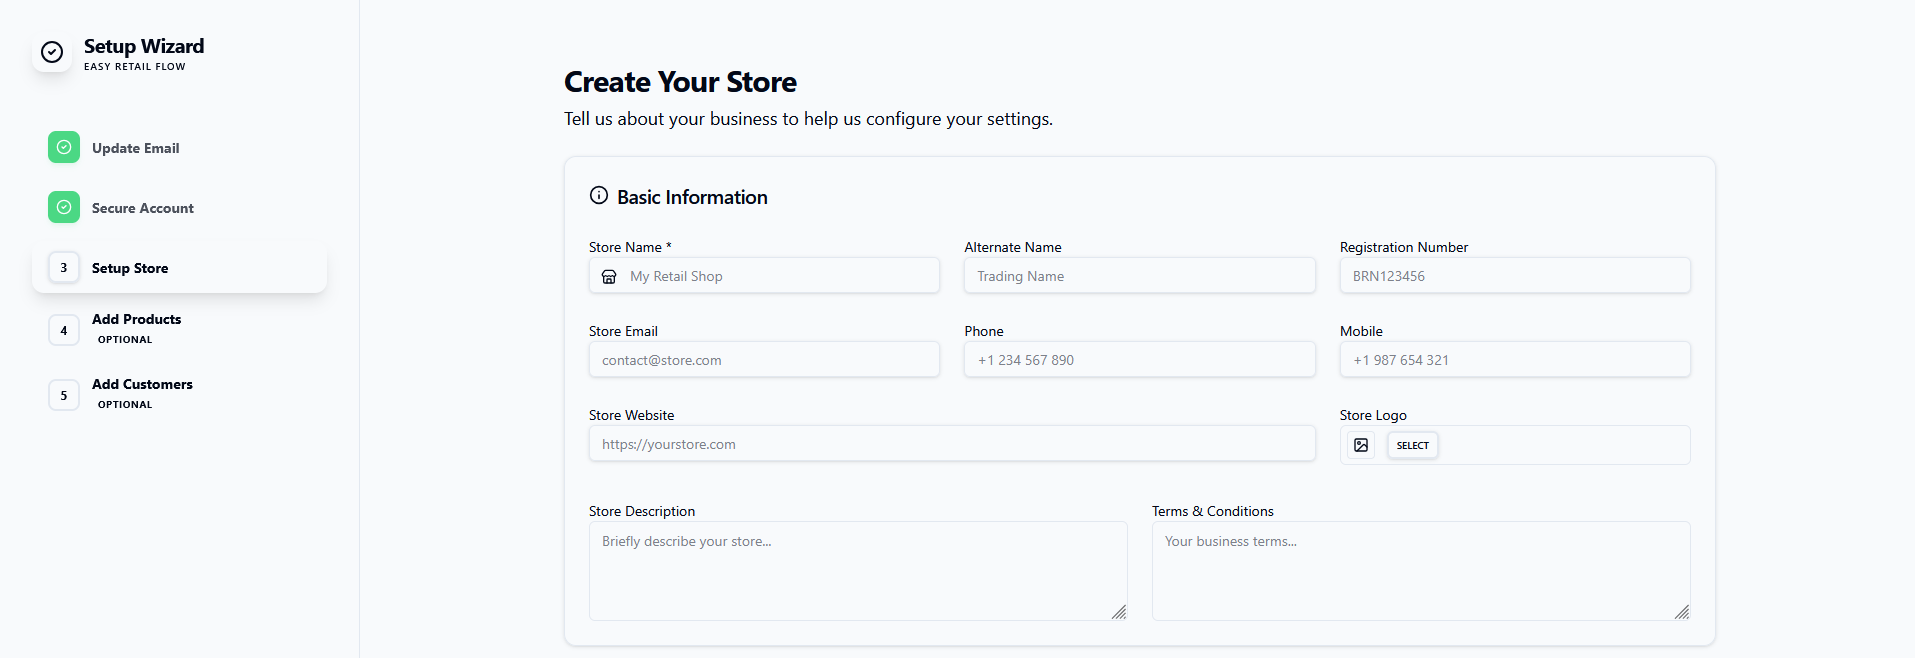
Figure 4 — Setup Wizard: Basic Information component.
Key Fields Discovery:
| Field Name | Description & Importance |
|---|---|
| Store Name * | The primary name of your business. This field is mandatory. |
| Alternate Name | Optional "Trading As" or local language name. |
| Registration Number | Legal business registration or tax ID. |
| Contact Details | Store Email, Phone, and Mobile for customer/vendor communications. |
| Store Logo | Upload your high-resolution logo for use on POS receipts and invoices. |
| Store Description | A brief overview of your business for internal and public records. |
| Terms & Conditions | Your default business terms that will appear at the bottom of generated documents. |
¶ 4.2 Address Information
Provide the physical location of your primary business outlet. This address will be used in the 'Store Information' section of your invoices and tax filings.
| Field Name | Description |
|---|---|
| Store Address | The street address of your facility. |
| City / State / Province | Local geographic identifiers. |
| Country | Select your business's country of operation. |
| Postcode / Zip | Postal code for shipping and tax calculations. |
¶ 4.3 Regional Settings
Customize how the system handles time, language, and currency to match your local business requirements.
- Timezone: Affects timestamping for sales and reports.
- Language: Sets the primary UI language for all staff.
- Default Currency: Sets the base currency for the entire system ($ by default).
- Time Format: Choose between 12-hour or 24-hour clocks.
¶ 4.4 Configuration
Define low-level operational logic and financial formatting.
- Price Format: Choose how prices appear (e.g., 1,000.00).
- Decimals: Number of digits after the decimal point (usually 2).
- Store Hours: Operating times for reporting and scheduling.
- Accounting: Set your inventory valuation method (e.g., FIFO).
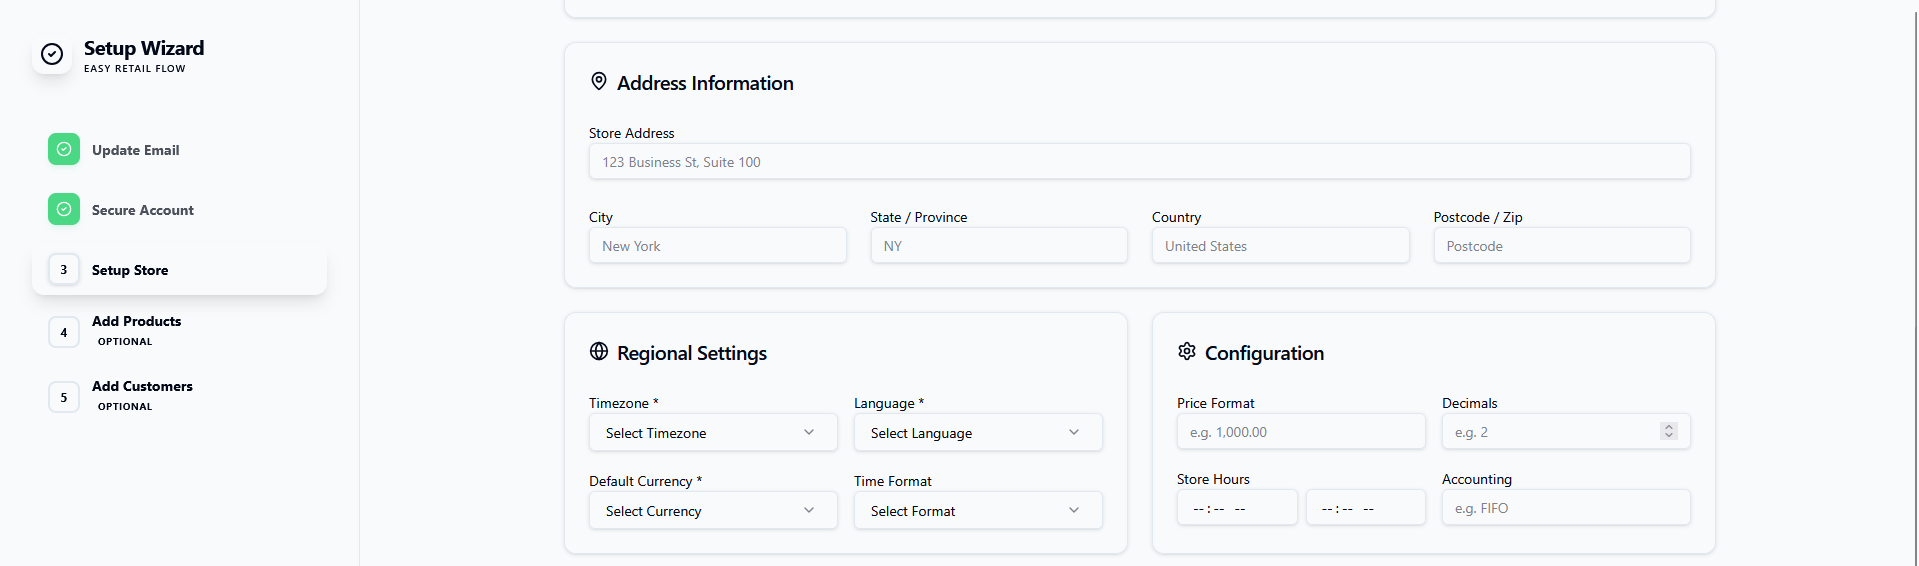
Figure 5 — Store Address, Regional, and Configuration settings.
¶ 4.5 Tax & Sales Settings
Configure how taxes are applied to your transactions. These settings ensure compliance with local tax regulations.
- Charge Sales Tax: Toggle this 'ON' to automatically apply tax to all sales processed through the system.
- Tax Included: If enabled, the prices you set for products will be treated as tax-inclusive. Otherwise, tax will be added on top during checkout.
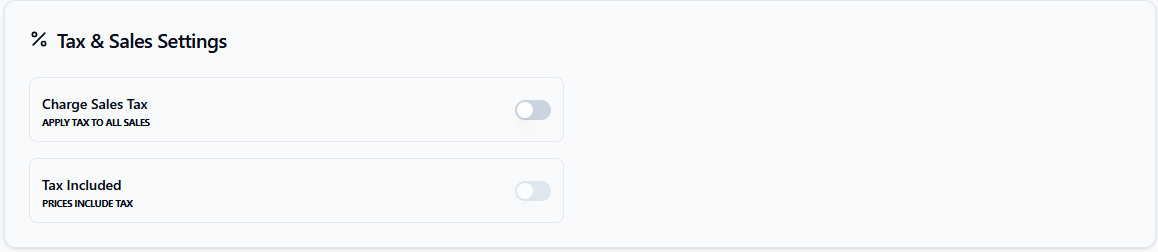
Figure 6 — Tax and Sales configuration toggles.
¶ 4.6 Refund & Deposit Settings
Control the financial policies for returns and service-based orders.
- Restocking Fee: Toggle to enable a standard charge when items are returned to inventory.
- Service Deposit: Require clients to pay a percentage or flat fee upfront for service-based jobs (e.g., repairs).

Figure 7 — Toggles for restocking fees and upfront deposits.
¶ 4.7 Security & Screen
Mandatory and optional security features to protect your terminal.
- Two-Factor Auth: A mandatory requirement for all users to ensure high-security access.
- Auto-Lock Screen: Automatically locks the terminal after a period of inactivity to prevent unauthorized access.
¶ 4.8 Email Configuration
Set up how the system communicates with your customers via email.
- Send Email From: The address that will appear in the 'From' field for sent invoices.
- Verified Domain: Toggle to confirm you have set up SPF/DKIM records.
- Receive Notifications: Toggle to get system alerts about stock or orders.
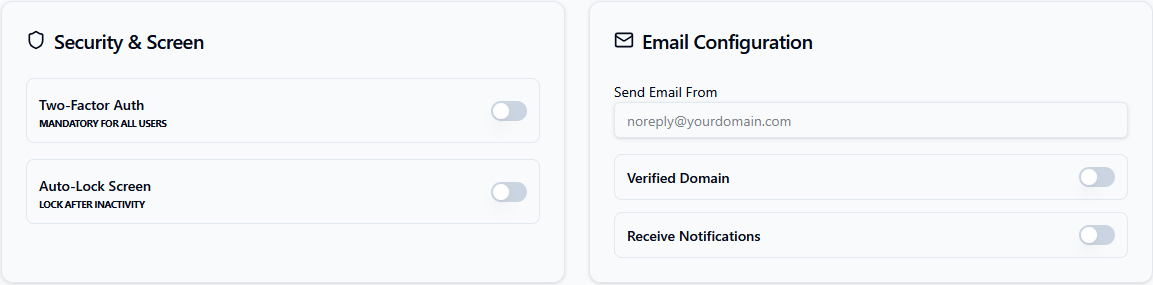
Figure 8 — Final security and communication settings.