Easy Retail Flow › Main › Stores
¶ Creating a New Store
Expand your retail network by configuring new store locations with custom regional, tax, and security settings.
¶ 1. Accessing Store Management
The Stores List is your central directory for all physical and digital outlets. To begin creating a new location, navigate to Main › Stores and click the Add New Store button in the top right.
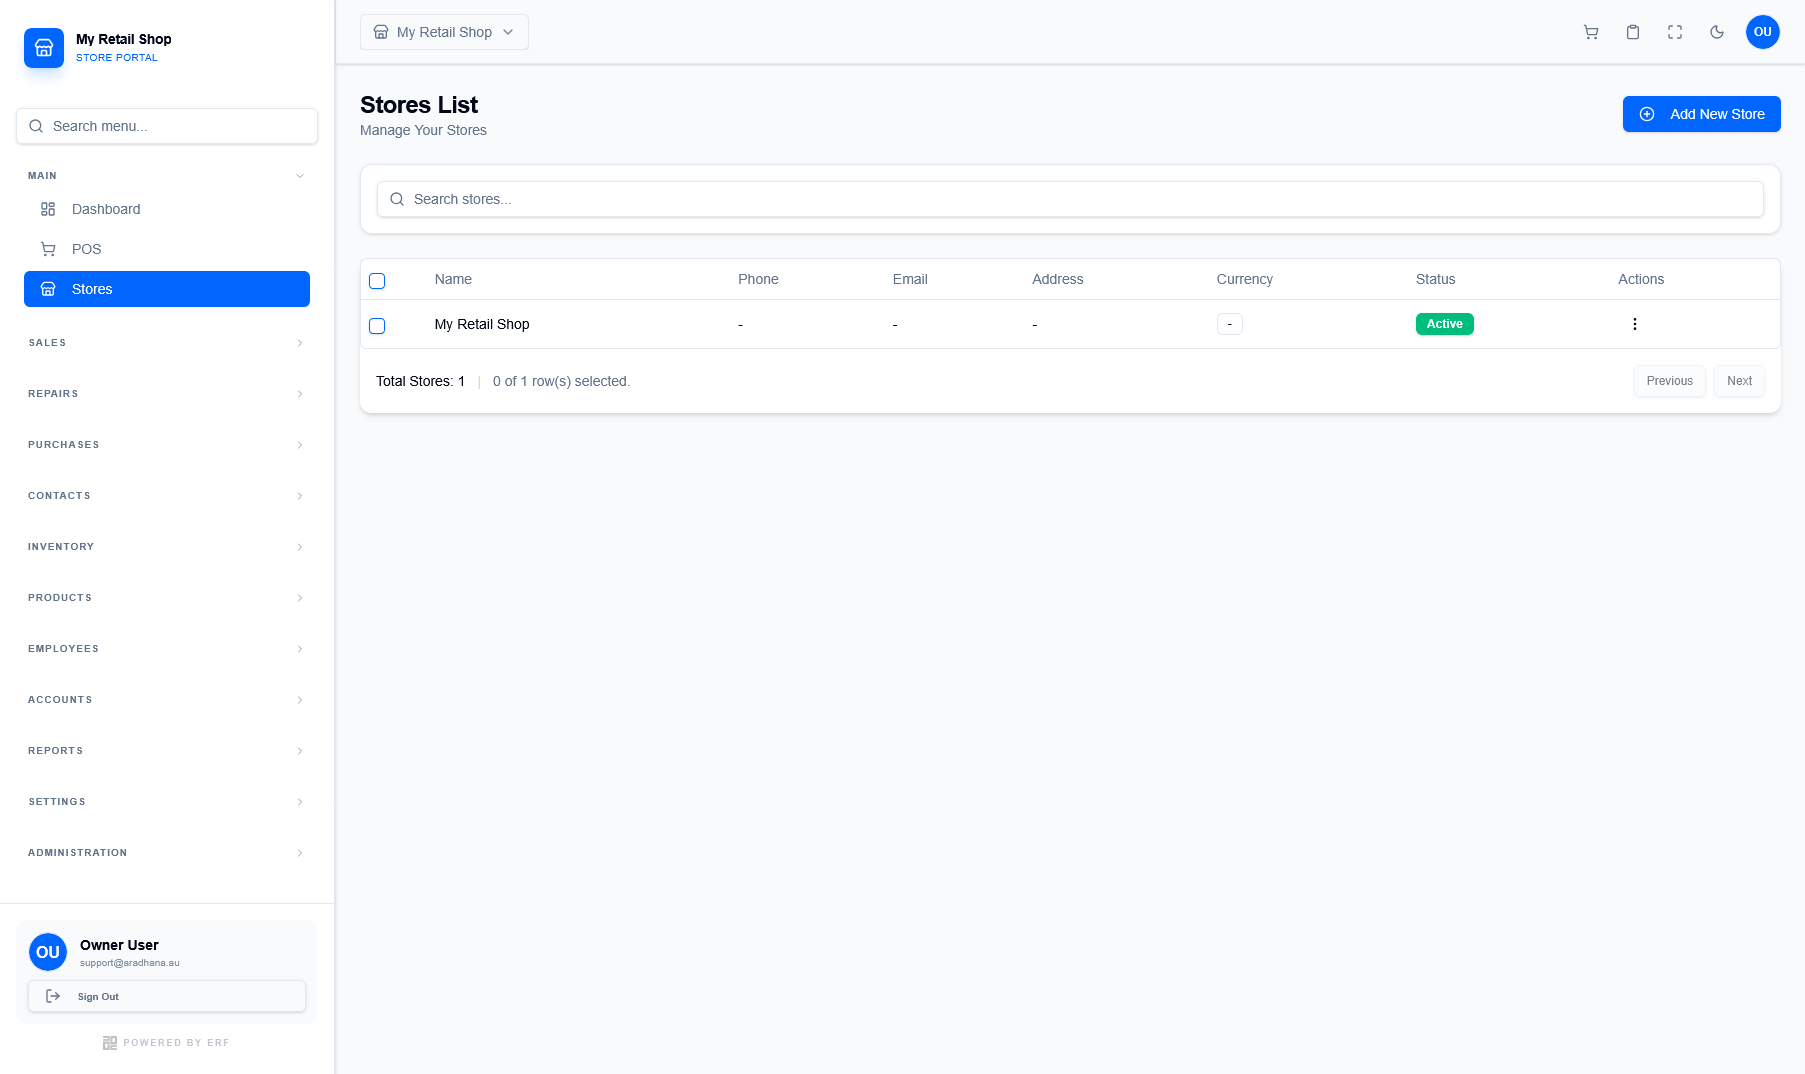
Figure 1 — The Stores List showing active locations and the initiation button.
¶ 2. Basic & Address Configuration
The first phase of store creation involves setting up the identity and physical location details. Accurate data here is critical for invoice headers and local SEO.
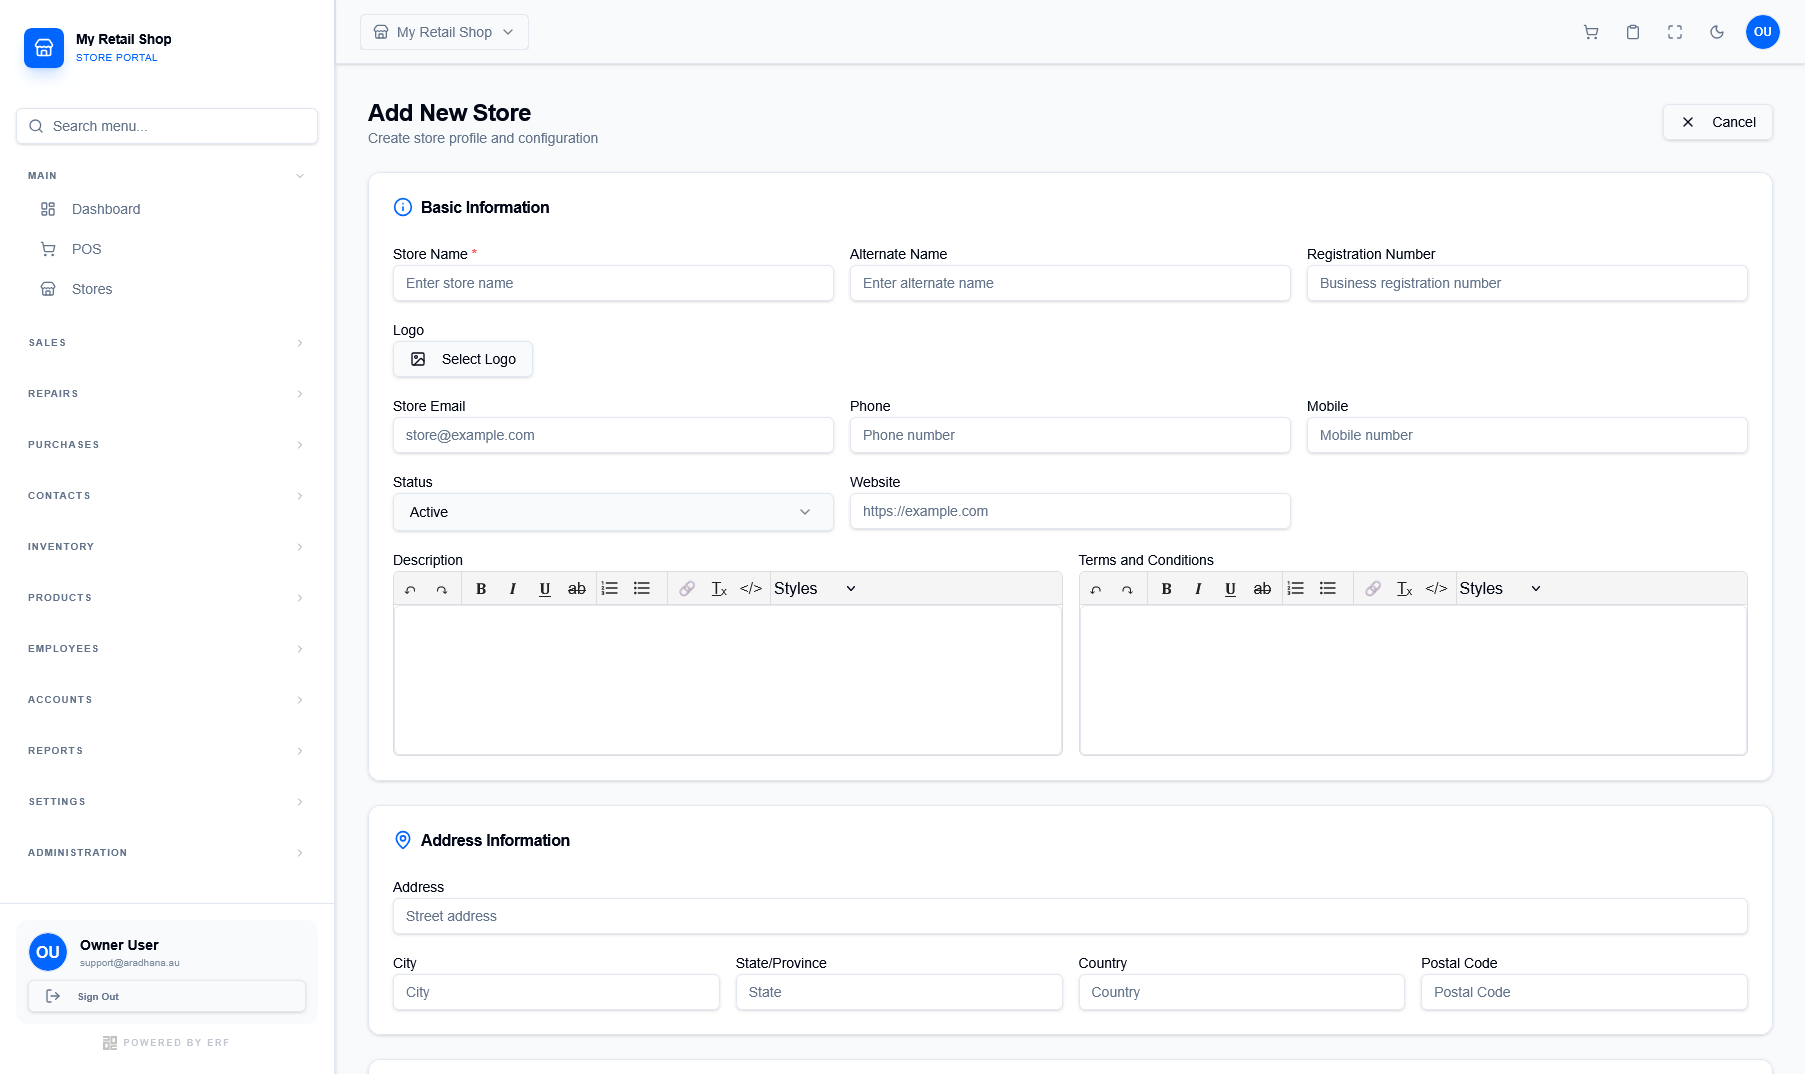
Figure 2 — Defining store identity, contact details, and physical address.
¶ Basic Information
Include the Store Name, registration numbers, and contact information. You can also upload a specific Logo that will appear on all receipts issued by this branch.
¶ Address Details
Enter the full physical address including Street, City, Province, and Postal Code. This data is used to calculate localized taxes and delivery zones.
¶ 3. Regional & Operational Settings
The second phase focuses on how the store operates within its specific region and business model.
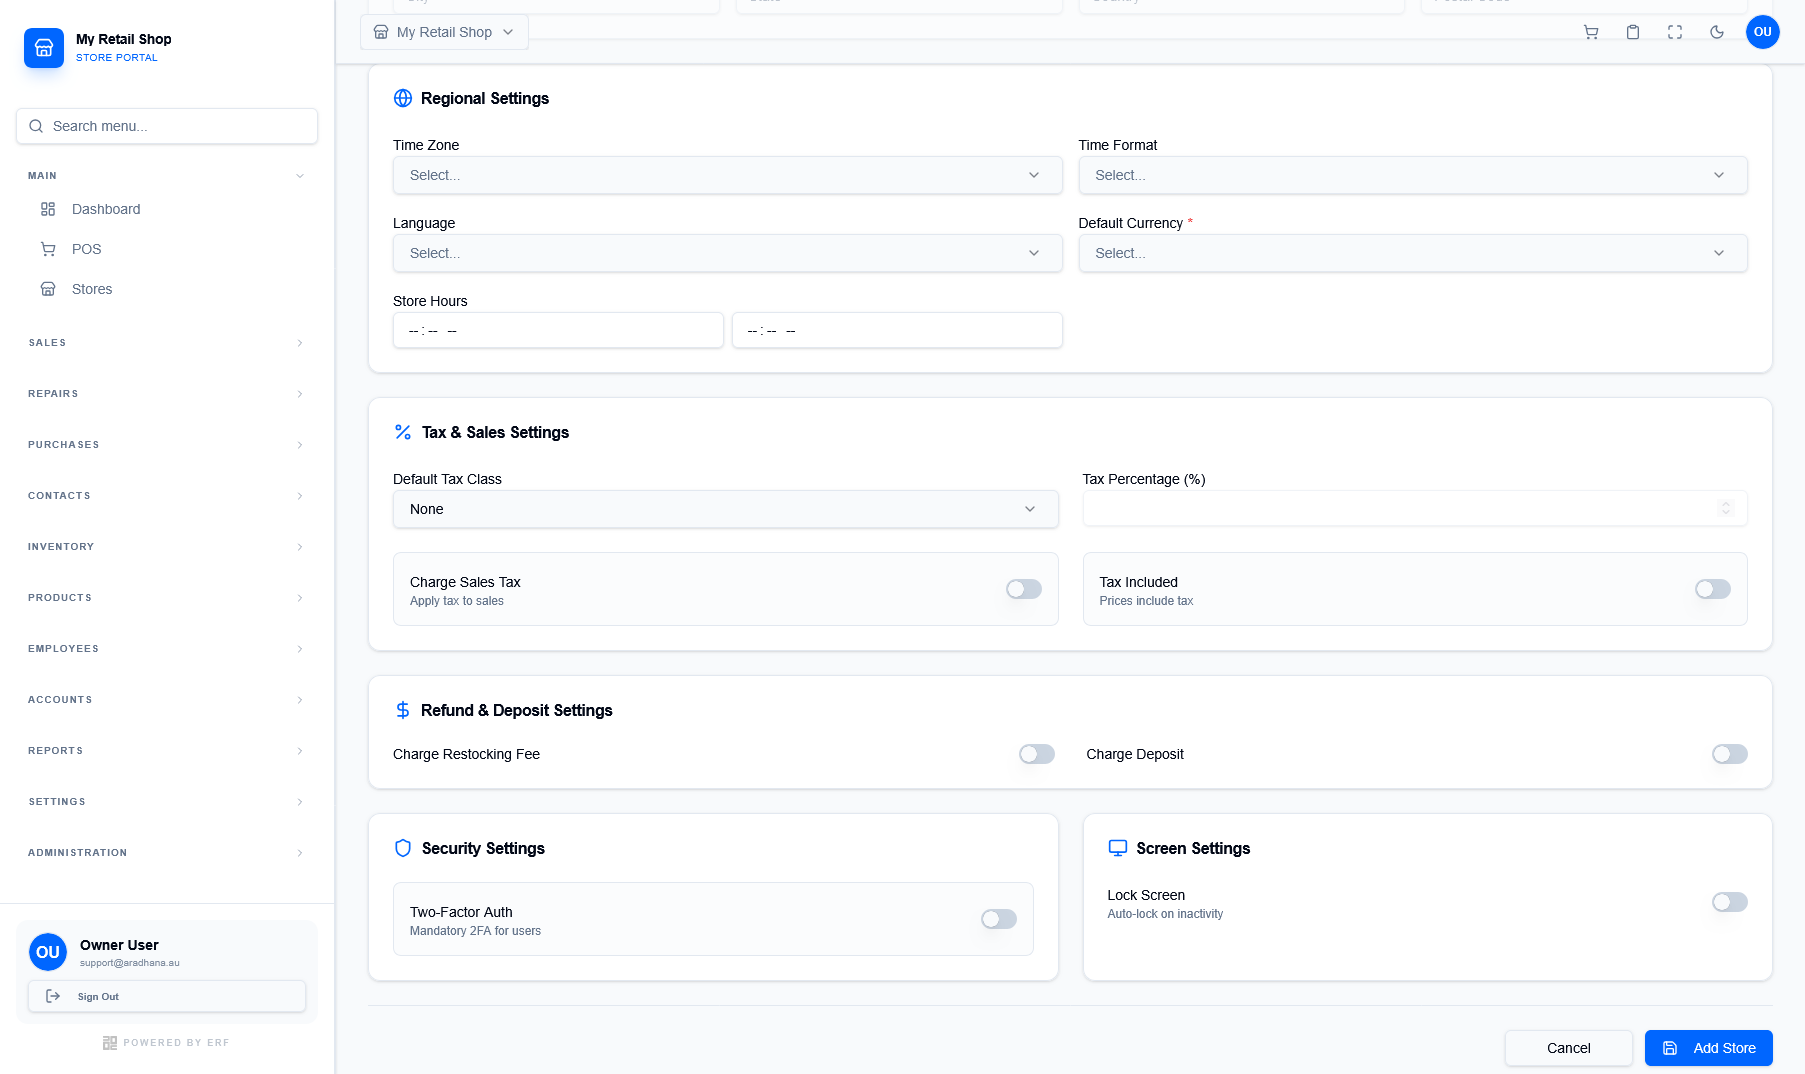
Figure 3 — Configuring regional, tax, security, and interface settings.
| Setting Group | Description |
|---|---|
| Regional | Define Time Zone, Language, and Default Currency. |
| Tax & Sales | Configure tax percentages and toggle "Tax Included" pricing models. |
| Security | Toggle Two-Factor Authentication requirements for this specific store. |
| Refund/Deposit | Manage restocking fees and deposit requirements. |